
Yoga Inversions For All
Sometimes I can’t believe that I’ve been practicing yoga for over 20 years now! Let alone teaching for nearly 10 years. There are so many reasons to fall in love with the yoga practice that extend well beyond asana (the postures). And also, as modern yogis, we typically are drawn in from seeing all sorts of cool shapes online.
Yoga Inversions as Seen Online:
If you’ve seen yoga on Instagram, you might be under the false impression that the only way to do a yoga inversion is to stand on your hands (aka, a handstand). Or, you might think it means standing on your forearms and contorting your body into a crazy backbend by bringing your toes onto your head (in other words, Pincha Mayurasana Scorpion).
The good news is that the yoga we see on Instagram doesn’t always necessarily paint the full picture of what yoga really is. There are actually SO MANY inversions available to practice that are much less scary, and more approachable for all levels.
What are Yoga Inversions?
Typically, it’s a shape where your heart is higher than your head and hips. Or, to simplify it even more: it’s when you go upside down!
So yes, Handstand, Pincha Mayurasana, and Headstand are all part of the inversion practice- but there’s also a variety of yoga inversions that are much more accessible to all level practitioners, as well.
This post is going to serve as a comprehensive guide to yoga inversions, touching on the benefits of yoga inversions, and answering the most common questions about these upside down shapes.
Benefits of Yoga Inversions:
Release tension.
Build confidence.
Increase strength and flexibility.
Improve circulation.
Energizing AND relaxing (depends on which one!)
Challenges and improves your balance.
Increase core strength.
Opens backline of the body.
Blood drains from feet.
Increase blood flow to the heart.
Arm balances will strengthen your upper body.
8 Yoga Inversions to Practice Now:
Rabbit Pose
This is a great basic yoga inversion to incorporate into your yoga practice, even if you’re used to practicing more advanced inversions. This will help you get comfortable inverting your body in a safe, grounded manner.
Start in child’s pose with the knees together and toes tucked.
Reach your hands back behind you, and grab your heels with your hands with thumbs grabbing the outer heel, and four fingers on the inner heel.
Make sure you have a firm grip, then start to tuck your chin and rock towards the crown of your head (the very top of your head).
Keeping the grip firm, start to lift your hips up and away from your heels, and rocking more weight into your head.
Allow the lift of the hips away from the heels to spread and open your low back.
Make sure the back of your neck stays long, and you can breathe.
Legs up the Wall
Another basic yoga inversion pose that will be helpful to incorporate for anyone with a yoga practice. This pose not only soothes the nervous system, but also lengthens the hamstrings which is helpful for more advanced inversions later on.
Start lying on your back with or without a wall.
If you’re using a wall, scoot your bum up to the edge of the wall.
Either way, make sure your back is nice and long, ironing out the low back onto your mat to build subtle core strength.
Slowly begin to straighten your legs skyward.
If you’re lying without a wall, and need more support, feel free to grab behind your thighs with your hands.
Otherwise, hands can stay by your sides with palms on the ground.
With or without a wall, know that you can always bend your knees a little or a lot.
If you want a more active experience, flex your feet by drawing your toes back towards your face, and press through yout heels.
Leg up the wall is a great place to stay for several minutes in your yoga practice, or in meditation.
Shoulder Stand
Another friendly, basic yoga inversion pose for anyone with a yoga practice. This is a bit of a deeper version of Leg up the Wall, by inverting the body even more, and also playing with balance.
Start in Leg up the Wall WITHOUT the wall (look at all cues above first) with hands by your sides.
Start to lift your hips off your mat, so your toes go slightly overhead, and place your hands on your low back like your sliding them into jean pockets (fingers point down the legs).
Begin to shimmy your shoulders underneath you to take weight off your neck, and to lift your hips up even higher.
You can keep your knees bent a little or a lot here, just make sure your legs are active.
Once you feel balanced on your shoulders, start extending your legs skyward to further invert your body.
Engage your core and build upper body strength by scooping your pelvis underneath you (just like child’s pose rounding of the spine).
Make sure you can breathe here.
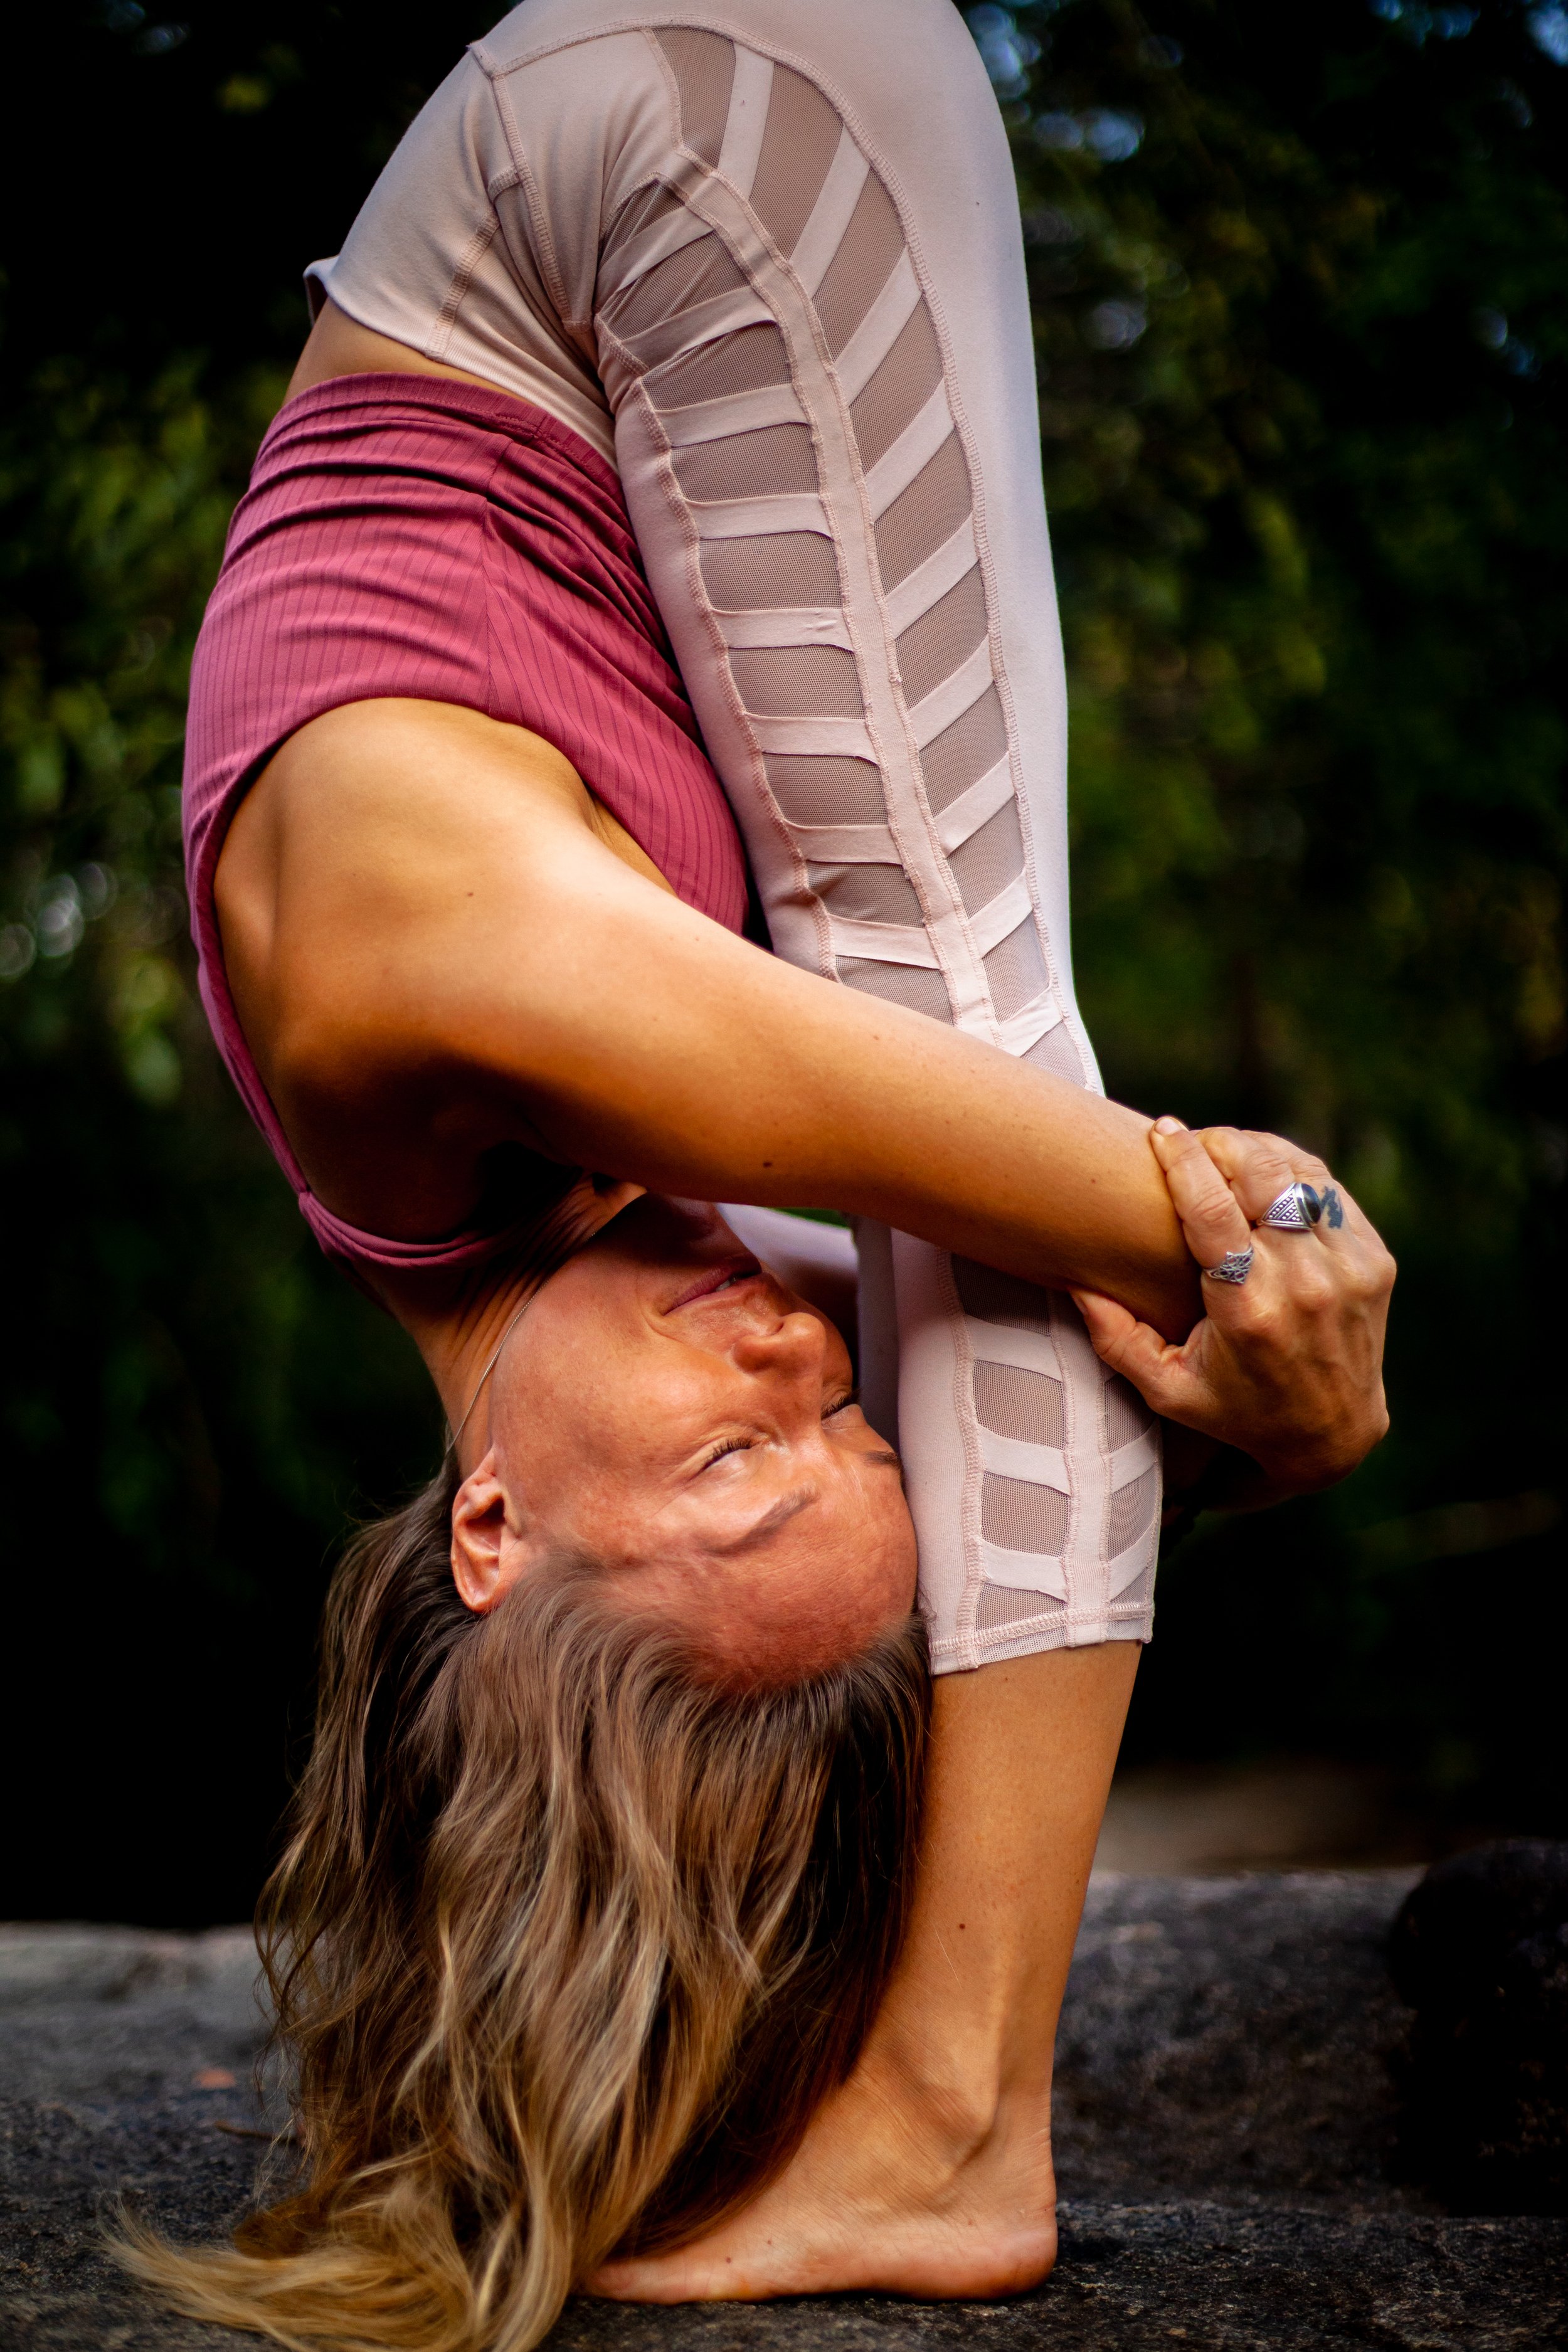
Standing Forward Fold
This is a daily go-to for me, and one I highly recommend to anyone who is looking to open their hamstrings and/or low back. This is a basic yoga inversion pose that will be accessible to all levels, and it will help for more advanced yoga inversion poses down the line.
Separate your feet as wide as your hips, or WIDER if you’re feeling tight.
Fold the top half of your body, over the lower half of your body.
Bend your knees a little or a lot, and work on spilling the weight forward in your feet while spiking into the heels.
Grab your elbows, and drop your gaze back between your legs so your head and neck get heavy.
Option to sway from side to side if that movement feels good to you.
Wide Legged Standing Forward Fold
Although it is quite similar to a standard Standing Forward Fold (basic yoga inversion pose), the great thing about this variation is that it will help you prep for more advanced inversion poses (like Headstand!) when you’re ready.
From standing, face the long edge of your mat, and open your feet out wide, with your toes in and heels out.
Place your hands on your hips, and plug deeply into your feet, keeping your knees bent a little or a lot.
Begin to fold forward from the hips (hands on hips helps you to feel if you’re actually hinging from the hips or not), until your torso hangs heavily between your thighs.
Your hands can land anywhere that’s comfortable for you (I like to grab my outer ankles), and you’ll gaze between your legs to keep the neck long.
If it’s too much, find a wider stance and deeper bend in the knees.
If you want more, shorten your stance and work your legs towards straight (while still keeping the knees micro-bent, instead of locking out the joints).
Spill the weight forward in your feet, while keeping your heels plugged into the mat.
Identify your inner thighs, and work on spiraling them out and back behind you (think Cow tilt of the pelvis) to turn up sensation in the back body, as well as to deepen the fold.
Play with strengthening your trust muscle and your balance as you continually work your hips up and overhead.
Downward Facing Dog
This is a pose you’ll encounter in MOST Vinyasa or Hatha classes, so it’s best to get familiar with it! Although this is not an advanced yoga inversion pose, it will be helpful once you do near more challenging shapes in the future.
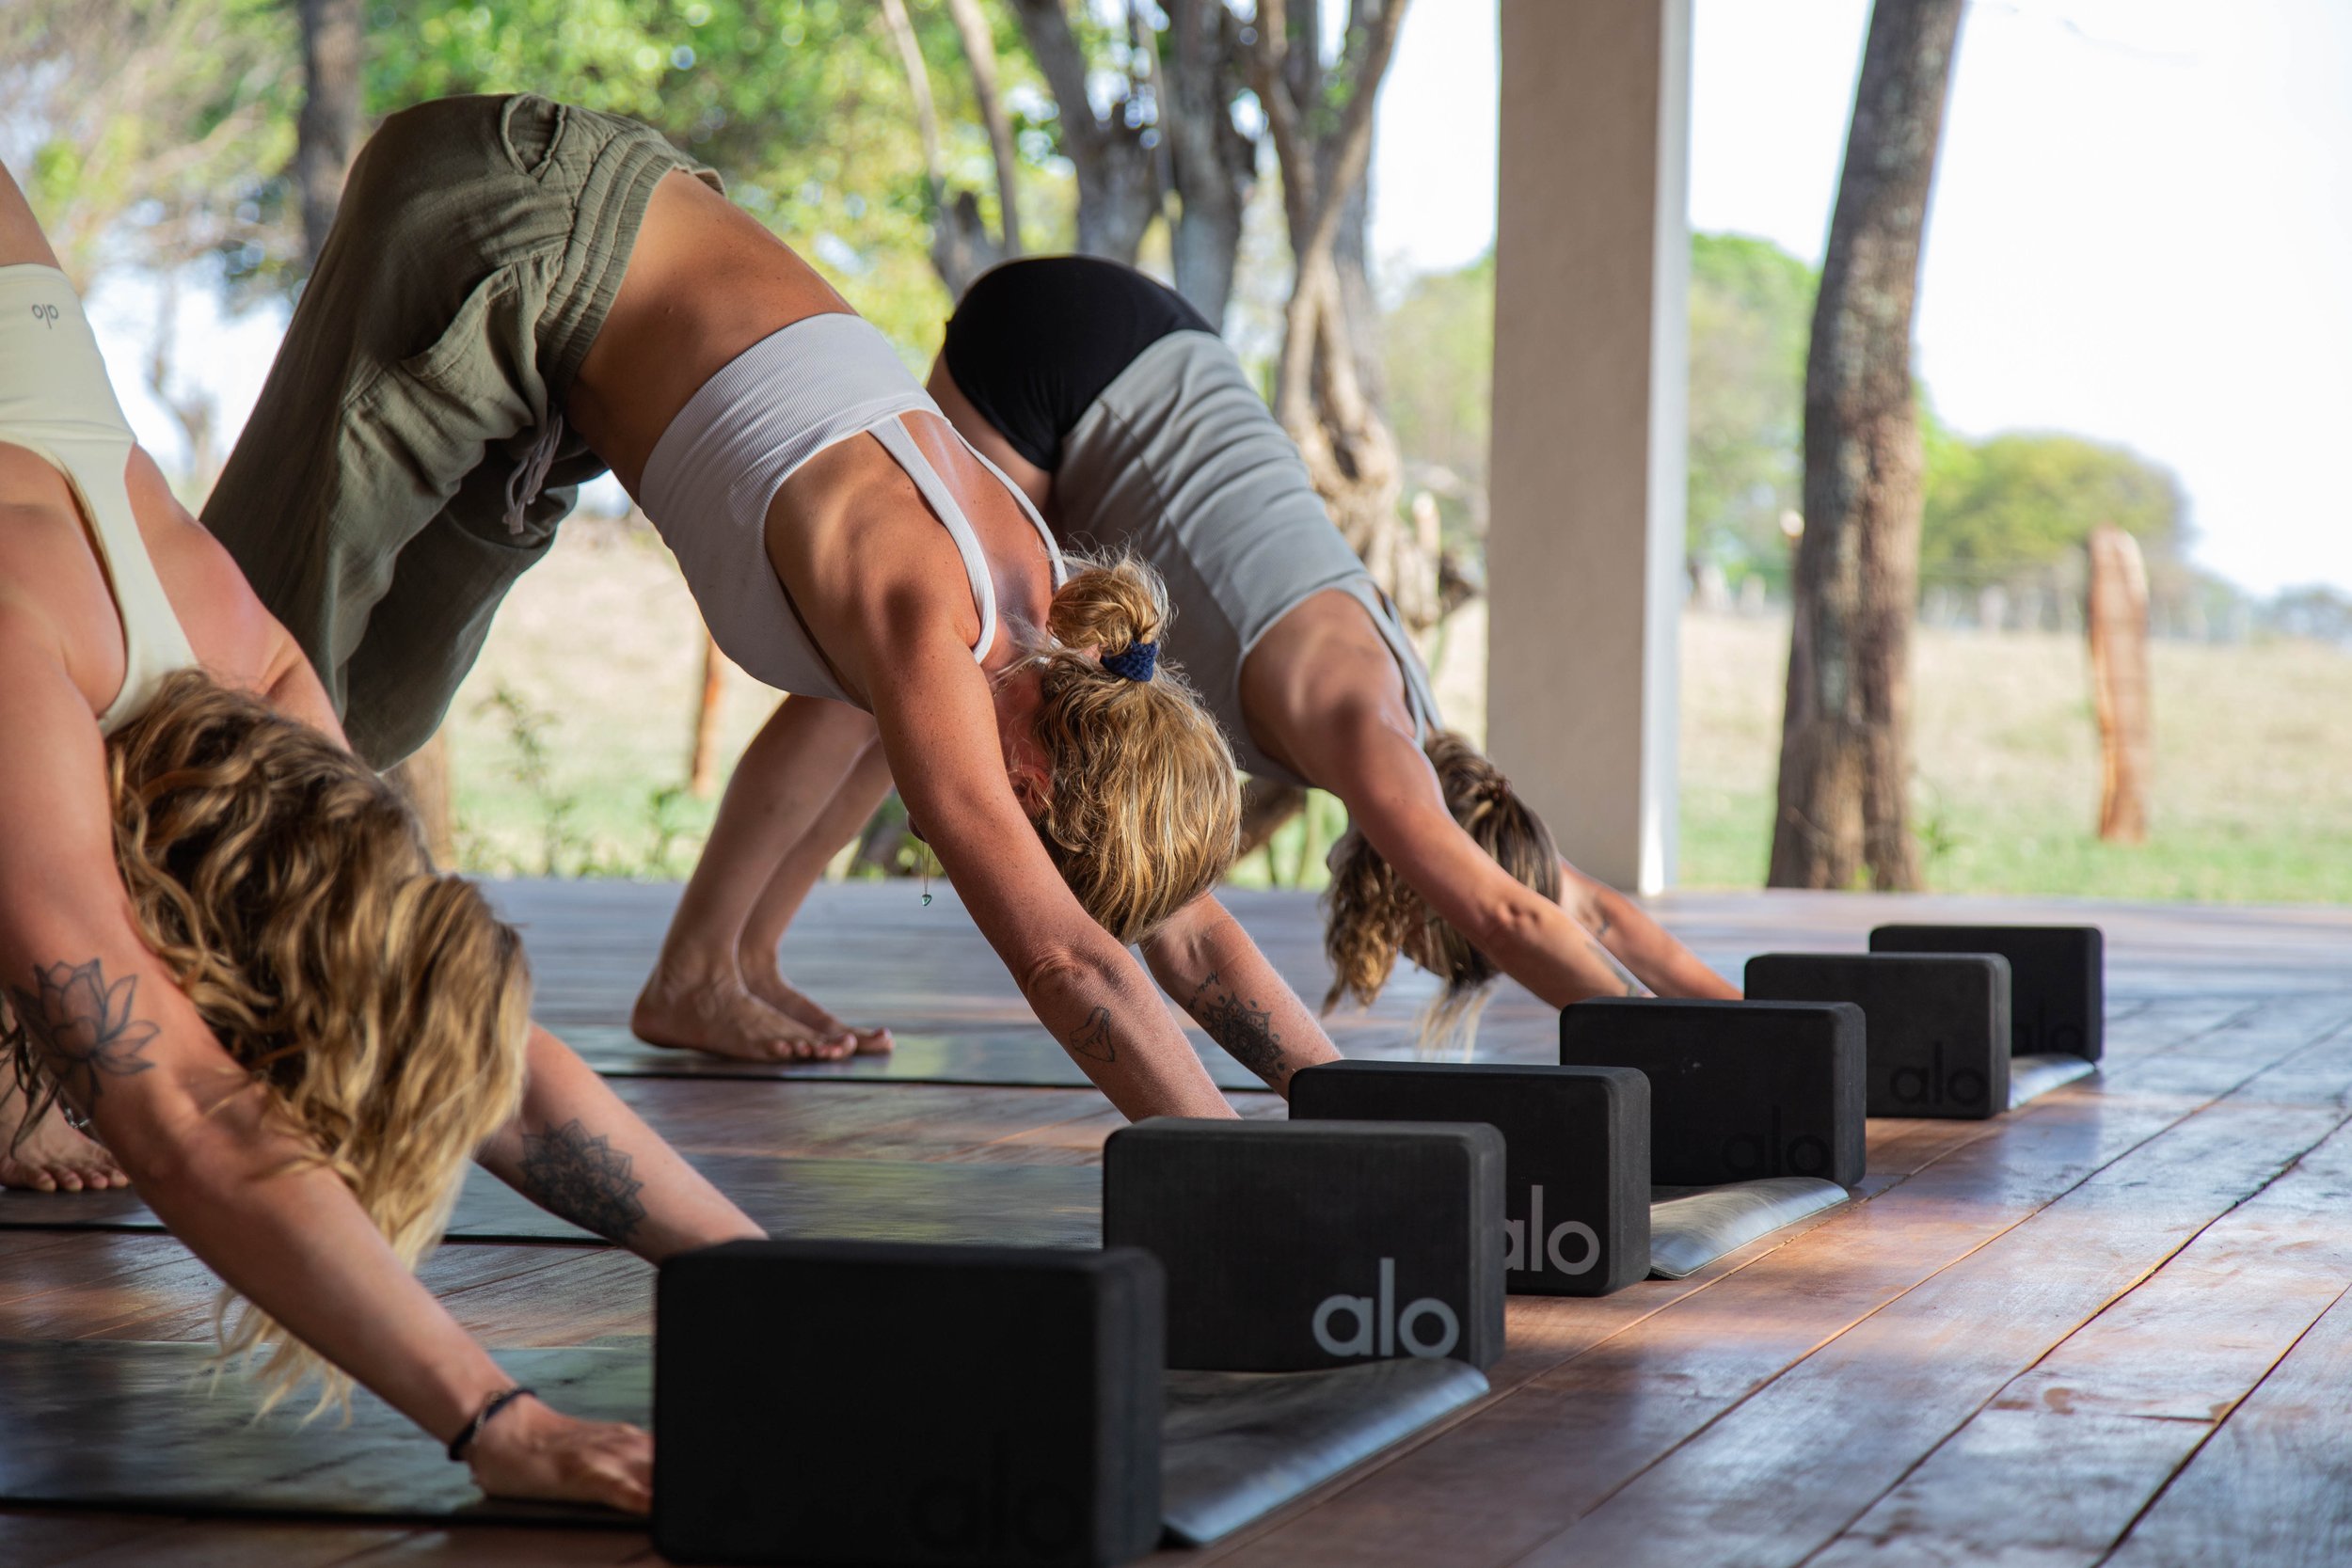
From Table Top (hands and knees), tuck your toes and lift your hips skyward to make an inverted V shape with the body.
Bend generously in the knees in order to tilt the hips skyward (think Cow tilt of the pelvis).
Drop your gaze back between your feet or legs to keep the back of the neck and throat long.
Check in that all 10 toes are facing forward, and that the feet are about as wide as the hips.
It’s okay if your heels are not on the ground, remember you can bend the knees a lot!
Now, fan all 10 fingers nice and wide, and press more weight into the space between your first finger and thumb, RATHER THAN dumping weight into your pinkies.
Stay buoyant in your joints, providing a subtle bend in the elbows and soft of deep bend in the knees.
If it feels good to you, then shake out your head “yes” and “no” here, or sway it from side to side.
Dolphin Pose
Dolphin Pose is nearly the exact same as Downward Facing Dog, only with the forearms on the ground, instead of the hands. Dolphin Pose is a great way to build upper body strength in your yoga practice, which is helpful when you’re ready to learn more advanced yoga inversion poses (like arm balances) in the future.
Start in Downward Facing Dog (an inverted V shape with the body).
Make sure to apply all of the previous cues for Downward Facing Dog, before adding on.
Next, lower one forearm to your mat, then the other.
If you’re tighter in the chest and shoulders, feel free to interlace your hands to provide more space across the chest.
Make sure that your elbows are still as wide as your shoulders, as they usually want to move out to the side.
Keep the gaze back between your feet or legs to keep your spine long.
Make sure you can breathe where you land.

Supported Headstand
We’re not ramping up from basic yoga inversion poses, to a more advanced yoga inversion pose. The important thing about Headstand is to remember this is more of an ARM BALANCE, than a head balance. As you invert your body, make sure you’re pressing most of the weight into your forearms to build upper body strength, rather than dumping weight into your neck and head.
Start in Table Top (all fours).
Place your forearms onto the ground, grab your elbows with your hands to make sure your elbows are as wide as your shoulders- then release your hands from your elbows and interlaced them with your elbows at the same width (shoulder distance apart).
If you’re looking for even MORE decompression in the low back, and increased blood flow to the brain and heart, then make sure to check out aerial yoga inversion poses for more supported entry to advanced inversions.
For more inversion play, make sure to check out my app. I have a single class called Intro to Inversions that would be a great fit for all levels. Plus, I have a full series of How to Handstand for those looking to go deeper.
Or, better yet, join my upcoming yoga retreat at Still Salty Escape for a full, in-person yoga inversion workshop.
Have fun getting upside down, my friends!
xx,
K
